


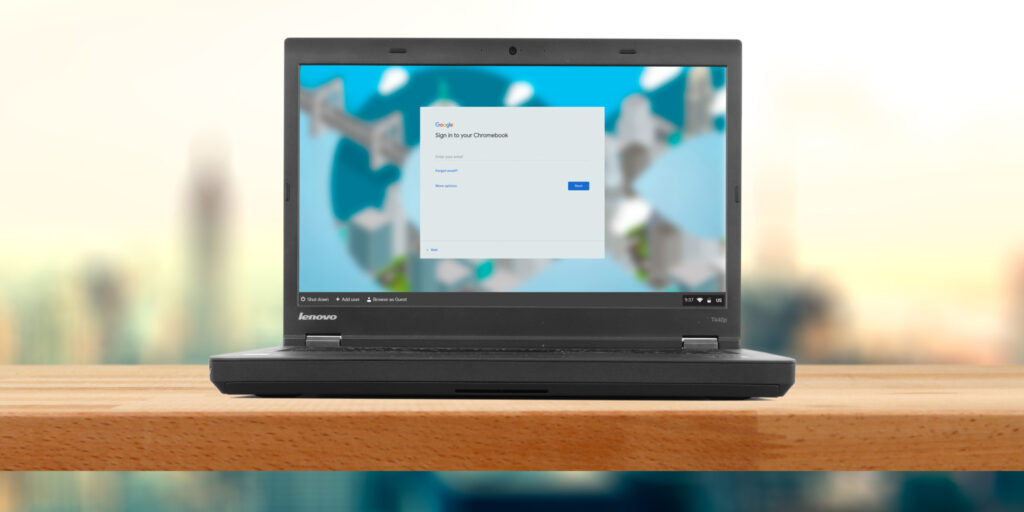
How many of you have multiple slow and sluggish laptops, desktops, and netbooks at home? I know I do. Most of mine have been unused for years, simply due to the fact that it can no longer provide use for modern tasks/applications. Some of my laptops, including a HP Pavilion b109-wm, are still running outdated operating systems with missing bug fixes. Using them today would pose security risks, all that can be prevented with a light-weight, optimized, and secure platform. I introduce you to Neverware CloudReady, the solution to bring our decade-old computing devices back to life, with extraordinary performance.
CloudReady is an operating system that is based on the open-source Chromium project. It has the added benefit that it can run on a variety of older (and even new) computers, essentially turning them into Chromebooks. It is built mainly for schools to be able to re-purpose old computers and avoid sluggish machines, while also saving money.
Neverware, being a corporate, provides the enterprise and school editions at a volume-licensing cost, however, for us home users, there is a free version. The only downside with the home (free) version is that it doesn’t come with support or Google Management Console enrollment. The Education version costs $59, which may seem costly at first, however, when thinking about it, it sure beats buying a whole new computer for students.
Another downside, although not one that affects all, is that since CloudReady (Chromium OS) is a cloud-based OS, it will not have all desktop applications that you are used to. For example, on my old laptops, I used to have Microsoft Office applications. However, due to this limitation, I was forced to use the web applications of Office, as well as Google-provided Google Docs and Google Sheets. Even so, the advantages of this light-weight and modern operating system heavily outweigh their disadvantages.
I installed CloudReady on one of my older laptops, a HP EliteBook 840 G1. This laptop had an i7-4600U vPro Processor, 4GB DDR3 RAM, 180GB SSD, and a 1366×768 display panel. These specs were sufficient for using in Windows, however, every-now-and-then, I did experience a slight lag or sometimes even an application crash. CloudReady completely transformed my experiences of the laptop. Loading speeds, as in a Chromebook, were blazing fast and it only took 7-8 seconds from pressing the power button to arrive at the login menu.
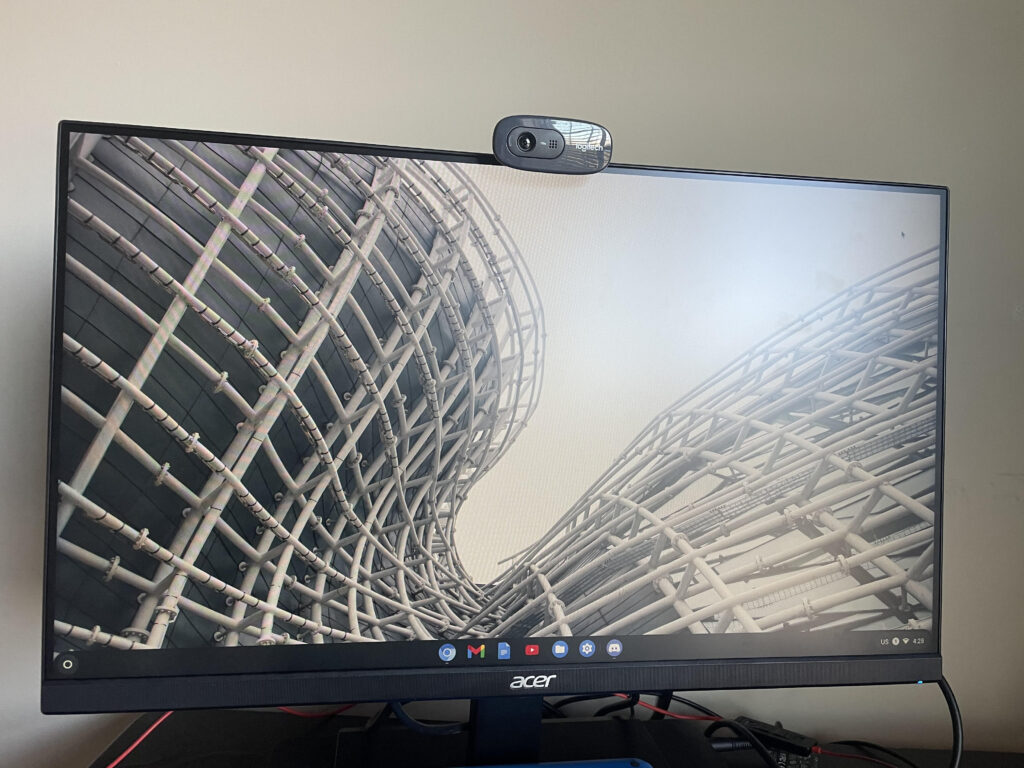
I had some issues with the keyboard and the TouchPad on this laptop, and simply due to the bad viewing angles with the 1366×768 display panel, I hooked the laptop up with an Acer V247Y 1080p monitor via the DisplayPort, added an external keyboard and mouse, and now it is really a great setup. I was able to close the laptop lid and place it under the monitor, giving it a clean and modern look. To solve the issue of not being able to access the power button (in case the laptop was shut down) to turn on my machine, I enabled an option in the BIOS which makes the PC turn on automatically when the power cable is connected. That means, when I wanted to turn on my laptop from the shutdown stage, I just would unplug and plug in the system, turning it on.
Keep in mind that since CloudReady was derived from Chromium OS, an open-source project, Play Store as well as Android apps are not present. As per Neverware documentation, “The Android container-environment, among other critical components, are private, proprietary, and/or not licensed for re-distribution, creating both technical and legal boundaries to anyone supporting Android apps on Chromium OS except Google.” Don’t lose your hopes on this yet, however. Since Google recently acquired Neverware, they might plan to make CloudReady official, adding all features currently available on Chrome OS, including Play Store services.
Want to give it a shot? You can go ahead and check which machines the software is compatible with here. If your model is in the list, that means that all of the components in your machine have been verified and tested for working in CloudReady. With a certified machine, you get the best experience after installing. Even if your machine isn’t described as compatible and certified, chances are, it will most likely work. The aforementioned was the case with my HP Pavilion TouchSmart 14-b109wm Sleekbook; it wasn’t in the list as certified, however, all of the hardware, including the touchscreen, just worked. The process is really simple, so you should be fine getting everything running. I’ve provided a list of minimum as well as recommended specs for this overall process below.
Requirements:
- 20 minutes for USB installer creation.
- To create the USB installer: a PC, Mac or Chromebook running the Chrome browser.
- An 8GB (or greater) USB stick
RAM: 2GB or greater
Storage space: 16GB or more
BIOS: Full administrative access, in order to boot from the CloudReady USB installer
Processor and Graphics: Components made prior to 2007 will likely result in a poor experience. Additionally, the following graphics hardware does not meet performance standards on CloudReady: Intel GMA 500, 600, 3600, 3650
Once ready, just visit the CloudReady website and download your free home-edition software. There is an option to go with the education edition (with Google Management Console and additional add-ons) if required. Who is going to try it out? Leave your comments below.

